

How do I set up my navigation menu?
Navigate to WordPress Dashboard > Appearance > Menus
From the drop-downs on the left, choose the content to add to your menu.
Nest & position menu items by dragging & dropping them.
Be sure to check the box to set the menu as "Primary menu"
Save menu

Adding Pages, Categories, etc. to your menu
On the left side of this screen are a number of drop-down boxes titled "Pages", "Links" and "Categories". Each heading will list available items you can add to your menu.
For example, to add a Page to your menu, please ensure you've first created the desired page (within WP Dashboard > Pages > Add New). Click the "Pages" drop-down heading. The pages you've created will be listed below (see screenshot above). Check the box next to the page you'd like to add to your menu and click "Add to menu". The selected item should now appear under "Menu Structure" column. Here, you can drag and drop the item you've added to adjust its location in the menu. You can also create sub-menus by dragging and dropping a menu item underneath another so that it's indented.
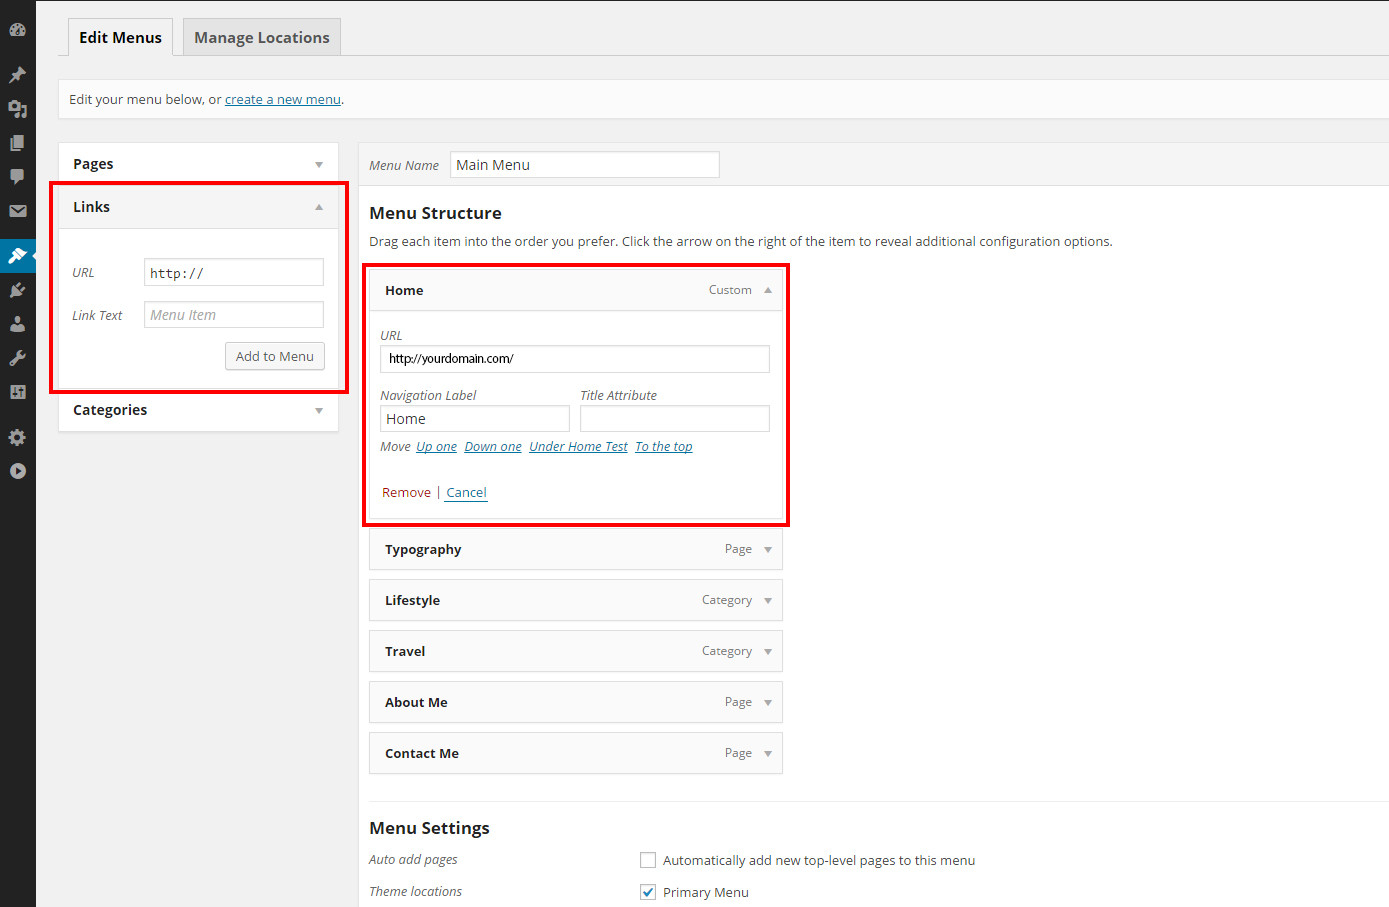
Adding a "Home" link to your menu
To add a link to your navigation menu that will direct users back to your homepage, select the "Link" drop-down menu. Enter your homepage's URL into the appropriate box and then give it a title, such as "Home". Click "Add to Menu" and drag and drop the menu item to where you'd like it to be placed.
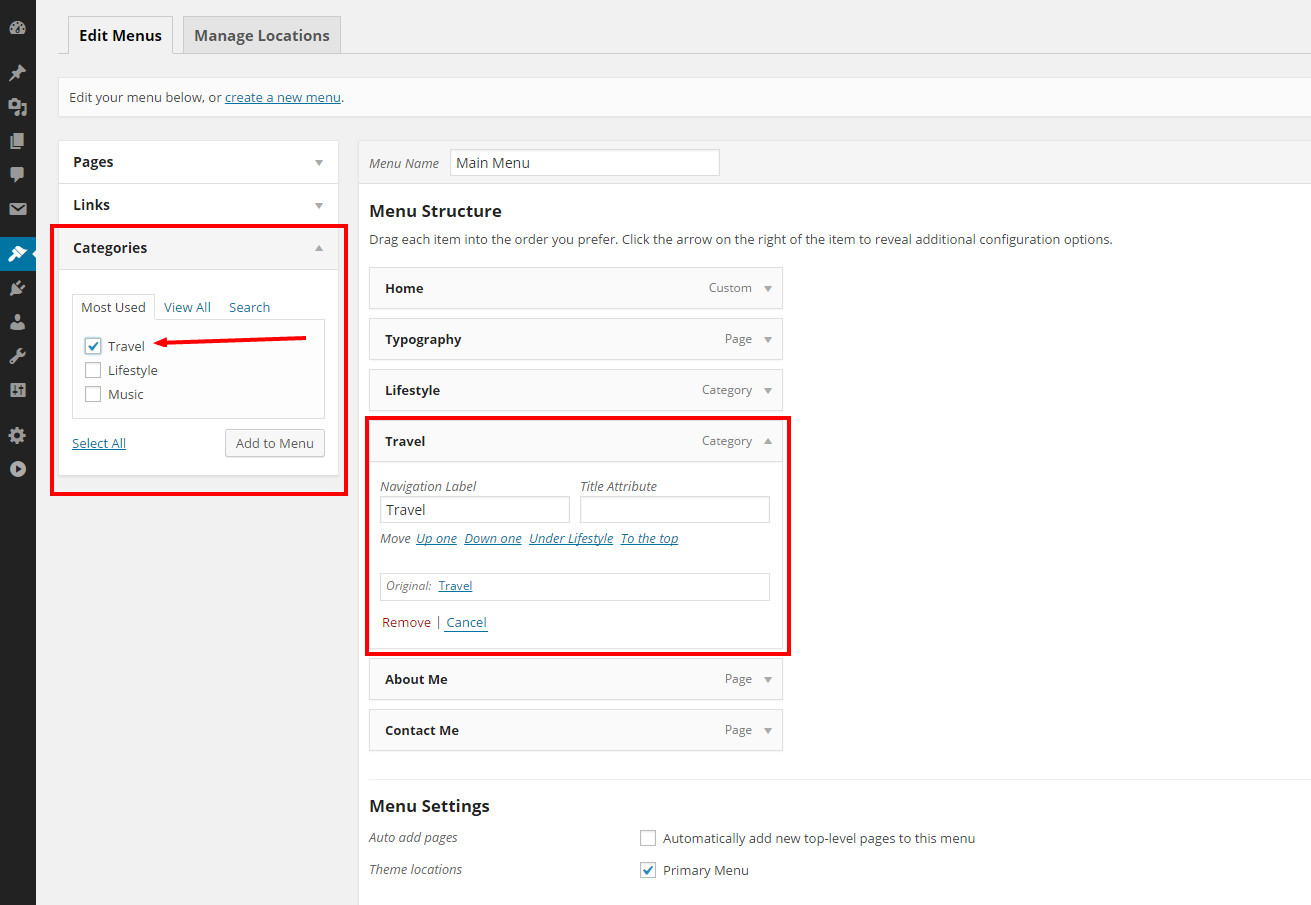
Adding a Category page to your menu
Once you've created a post category (within a post's create/edit screen) and assigned it to at least one post, when you look within Appearance > Menus > Categories, you will see this category listed. Check the box next to your desired category and select "Add to Menu". WordPress will automatically generate a page and pull in all posts that have this particular category assigned to it.
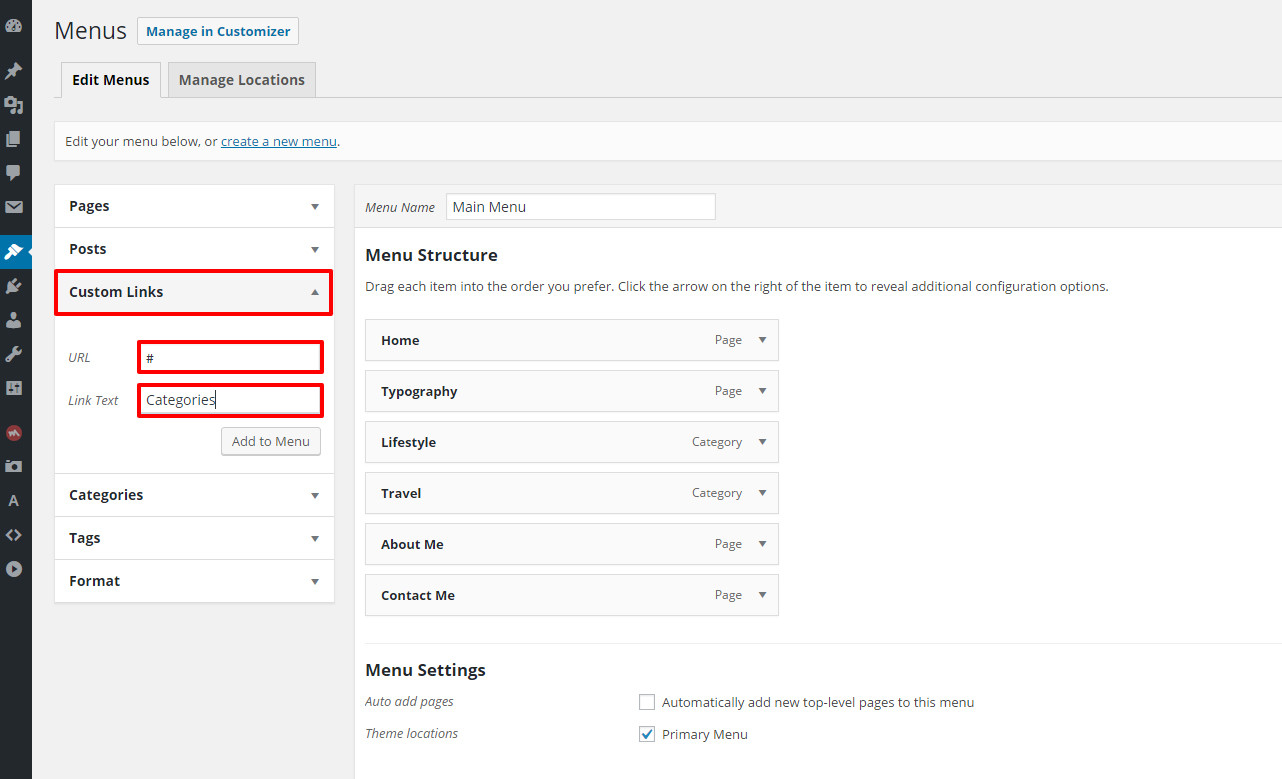
 Creating an empty parent menu item
In some situations, it's preferable to have a "parent" menu item which, when clicked, leads nowhere. Nested beneath the item, there may be a variety of related "child" menu items.
For example, a parent menu item titled "Categories" which is not hyperlinked, and child menu items of your various category options.
To create a menu item that doesn't link anywhere, you can navigate to WP Dashboard > Appearance > Menus. Select the drop-down on the left titled "Custom Links".
For its "URL" field, you can simply use a hashtag ( # ) character. For its "Link Text" field, you can enter whatever you'd like the menu item to be named. When finished, click "Add to Menu".
Next, nest your other regular menu items beneath this un-hyperlinked parent item. Save changes when finished.
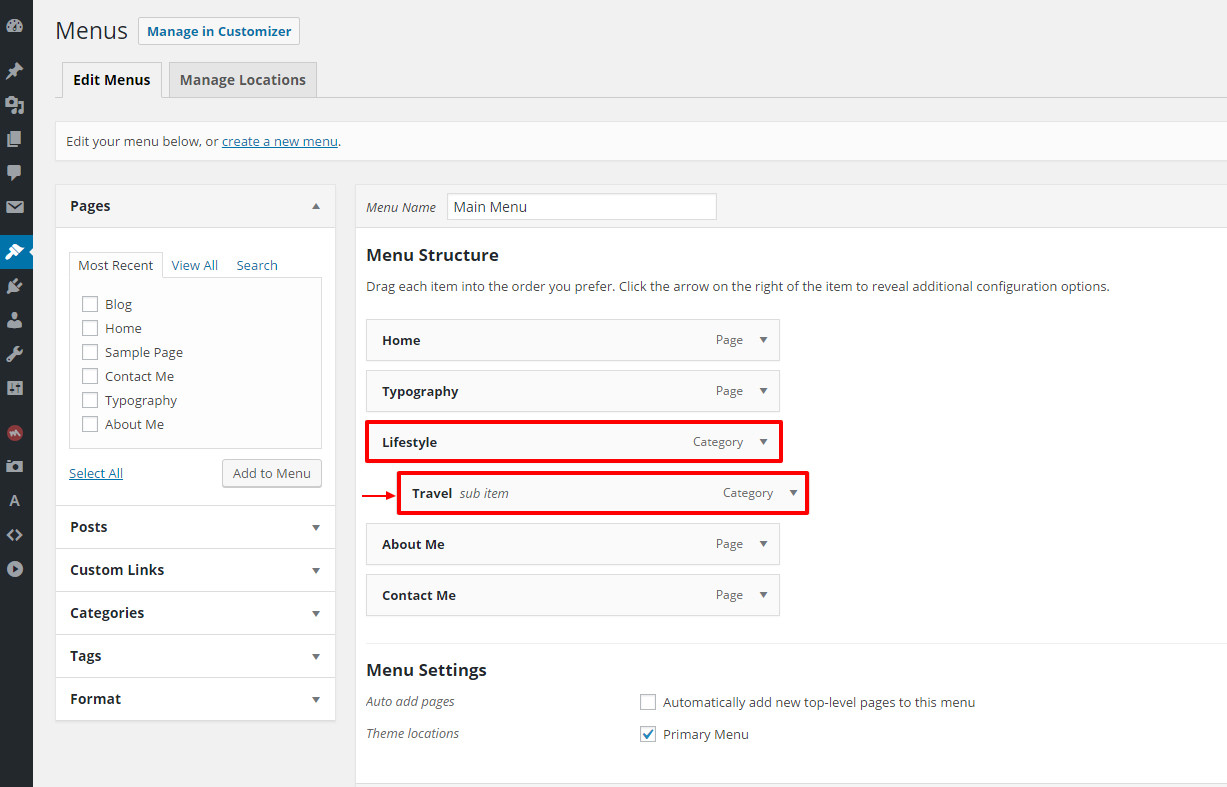
Sub Menus
Once you've populated your menu with items, you can create sub-menus by dragging and dropping the items "within" other menu items. When you drag one item beneath the "parent" menu item, it will indent a bit to the right. This indicates that the "child" menu item is now nested beneath the "parent" menu item.
Editing Menu Items
If you wish to edit or remove a menu item, click the little arrow on the right-side of the menu item name. A selection of options will drop down, including editing the navigation label as well as removing the item altogether.
Additional Menu Item Features
For additional menu features, click on the "Screen Options" tab in the top-right corner of the Menu page. Here, you can add the option of linking directly to a Post or specific Tag within your navigation menu. You can also check the box next to "Link Target" to give yourself the option of having menu items open in an entirely new tab when clicked.

For more information on menus in WordPress, check out:
http://codex.wordpress.org/WordPress_Menu_User_Guide